Fitting Instructions
Congratulations on your purchase of a lifetime — the EquiPoise.
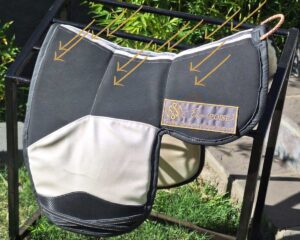
The beauty of this product is not only in its elegance and durability but also in its tailor-made fit.
Each saddle pad should be fitted correctly for the rider, saddle, and horse.
Changing horses or saddles will require re-evaluation from a trained Equipoise fitter.
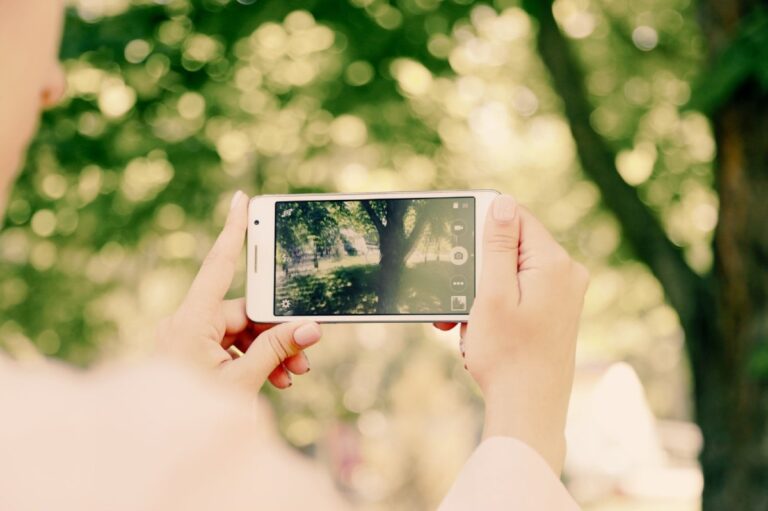
The following slides of photos and video material are required for an online fitting that can be arranged by appointment. The photos and your presence hands-on to follow instructions as your fitter advises would be required.
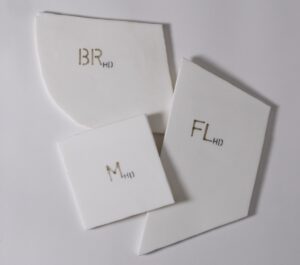
Each numnah consists of six pockets, each with two different thicknesses of high-density foam.
Padding is marked as such:
- RF Right Front
- LF Left Front
- Middle
- RB Right Back
- LB Left Back
There are two thicknesses of High-Density Foam marked HD and 7 accordingly.
Your fitter will better explain during your fitting.
Camera Footage Required
Photo recommendations:
- Try to take photos with minimal background noise.
- Ensure even light, i.e., not part of the body in the shade and another in light.
Video recommendations:
- Trot out on a hard surface to hear the footfall.
- Avoid background noise in the video, i.e. no chatting.
- Avoid filming from light to shadow.
- Ensure you stand with the camera directly behind the horse and not at an angle.
- Do not run directly in front of your horse.
- Make sure to have a loose rein and not limit the horse’s head movement.
- Please ensure you zoom in and out as the horse moves closer and further away.
Image 1 & 2
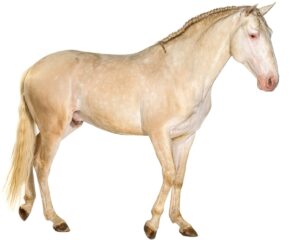
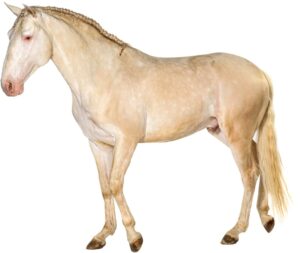
The first image is just for me to get an overall picture of your horse.
Take a image from both sides of your horse and mark it image 1 and image 2.
Video 1
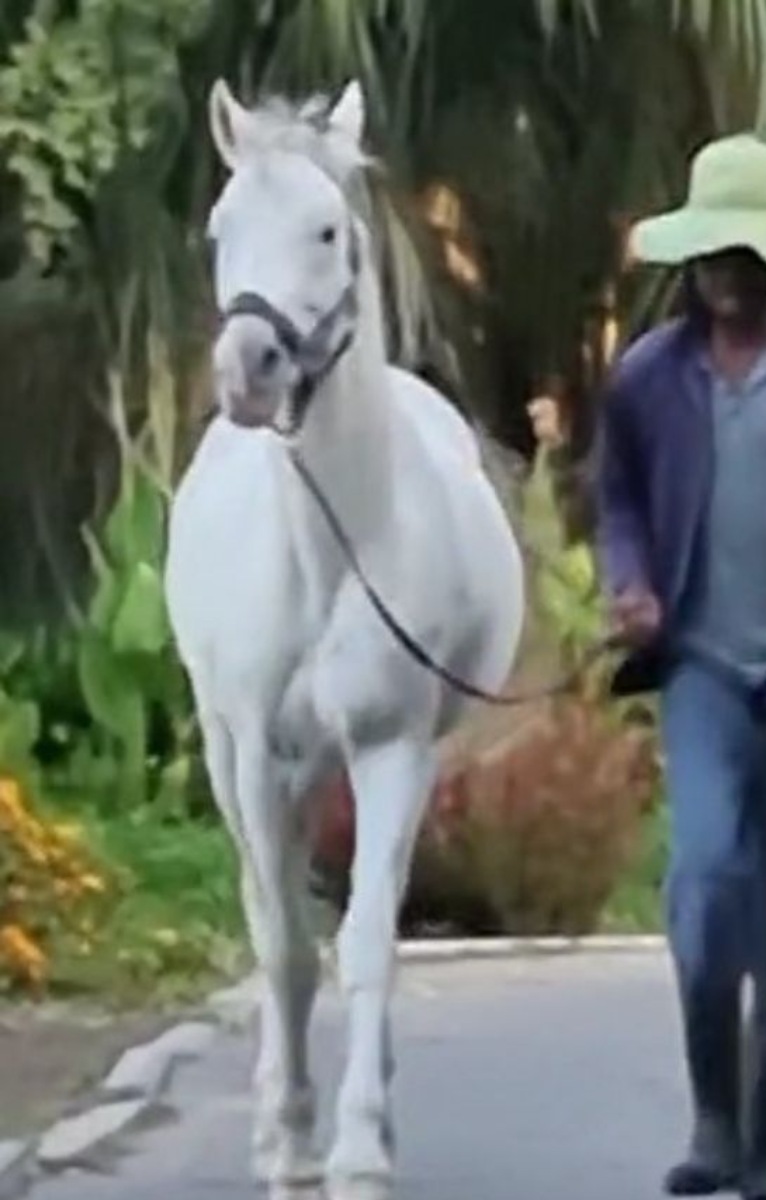
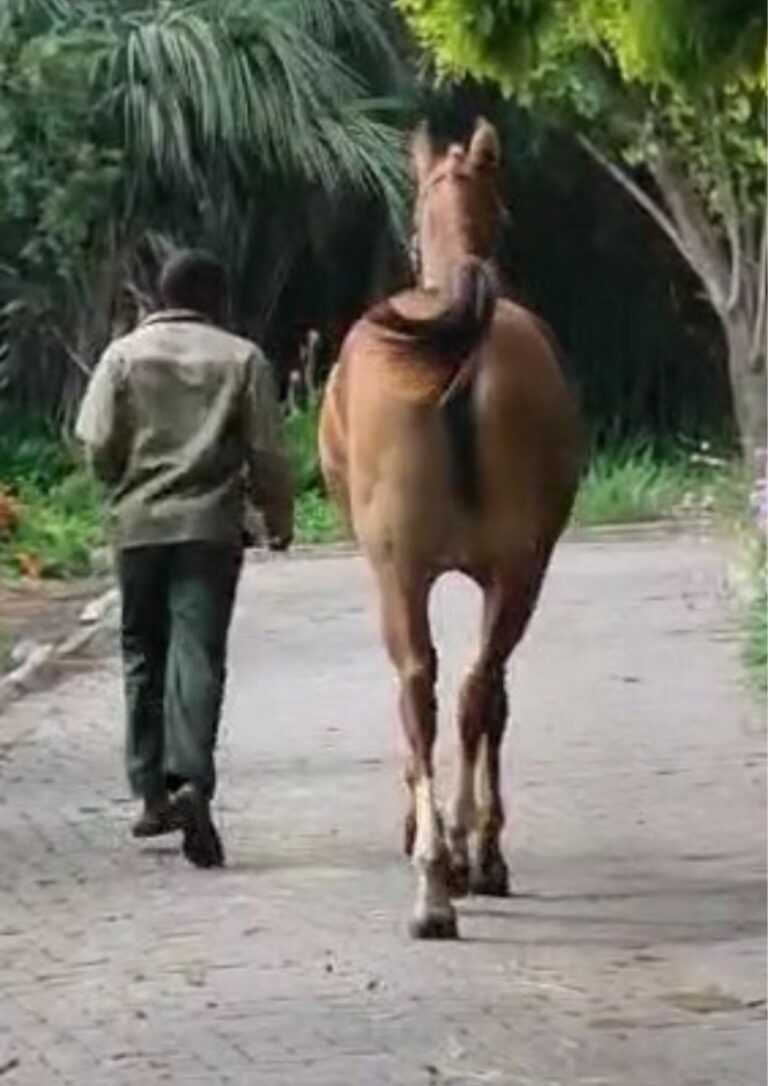
For our Video 1 please record your horse trotting in a straight line away from you and then towards you.
This is for me to get a feeling for your horse’s unique movement
REMEMBER:
- Trot out on a hard surface to hear the footfall.
- Avoid background noise in the video, i.e. no chatting.
- Avoid filming from light to shadow.
- Ensure you stand with the camera directly behind the horse and not at an angle.
- Do not run directly in front of your horse.
- Make sure to have a loose rein and not limit the horse’s head movement.
- Please ensure you zoom in and out as the horse moves closer and further away.
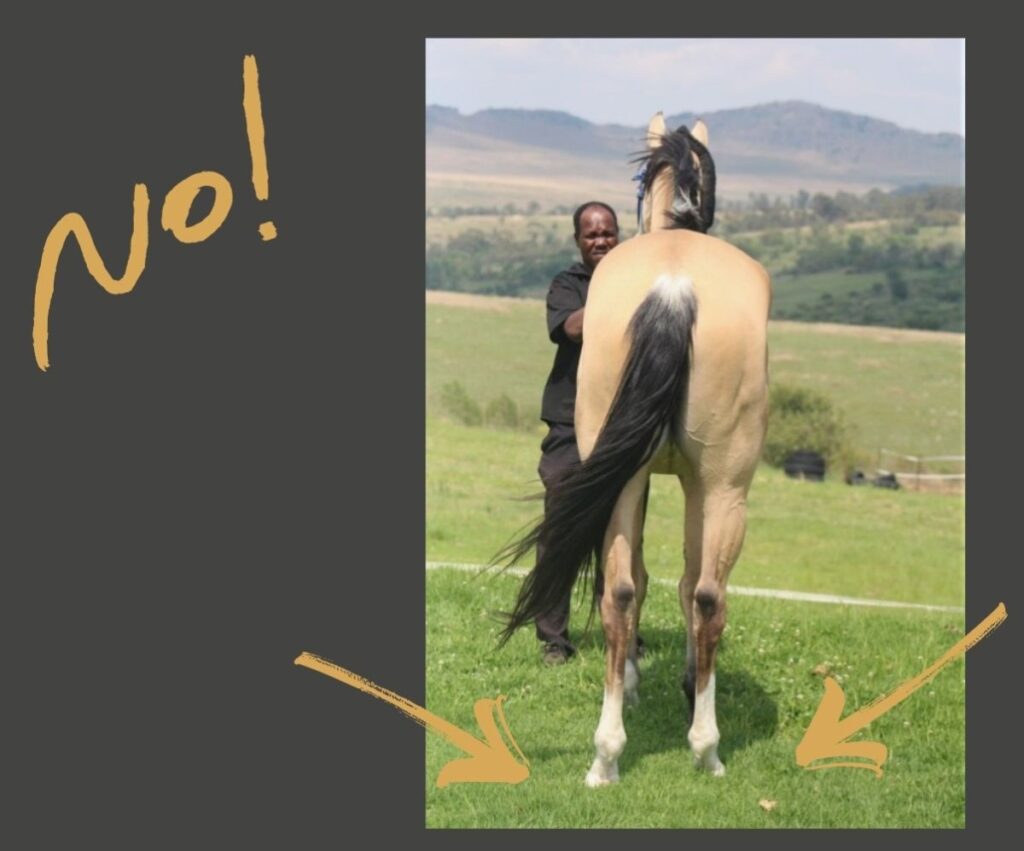
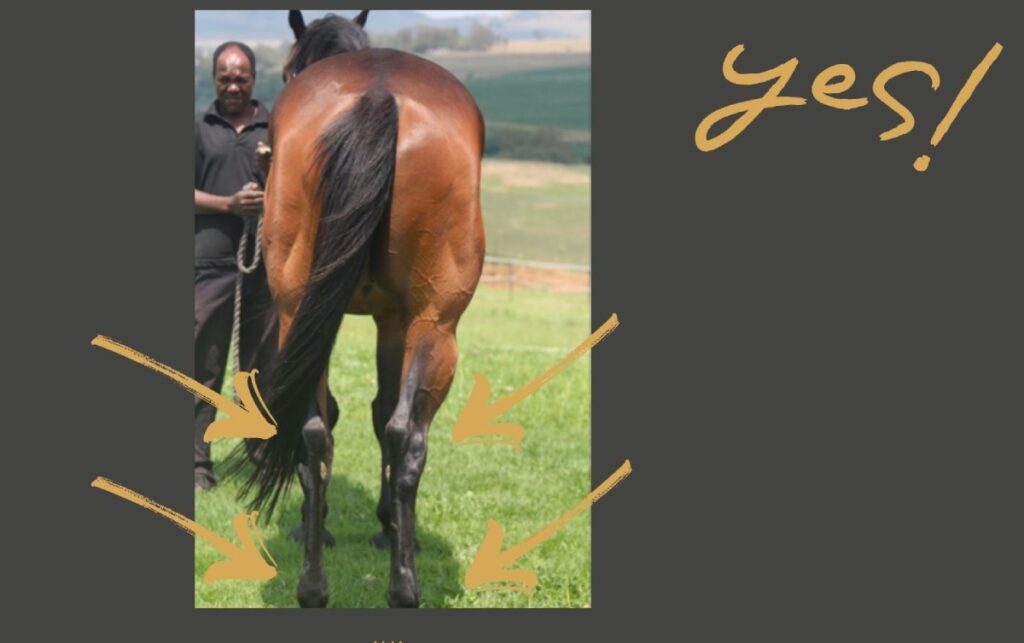
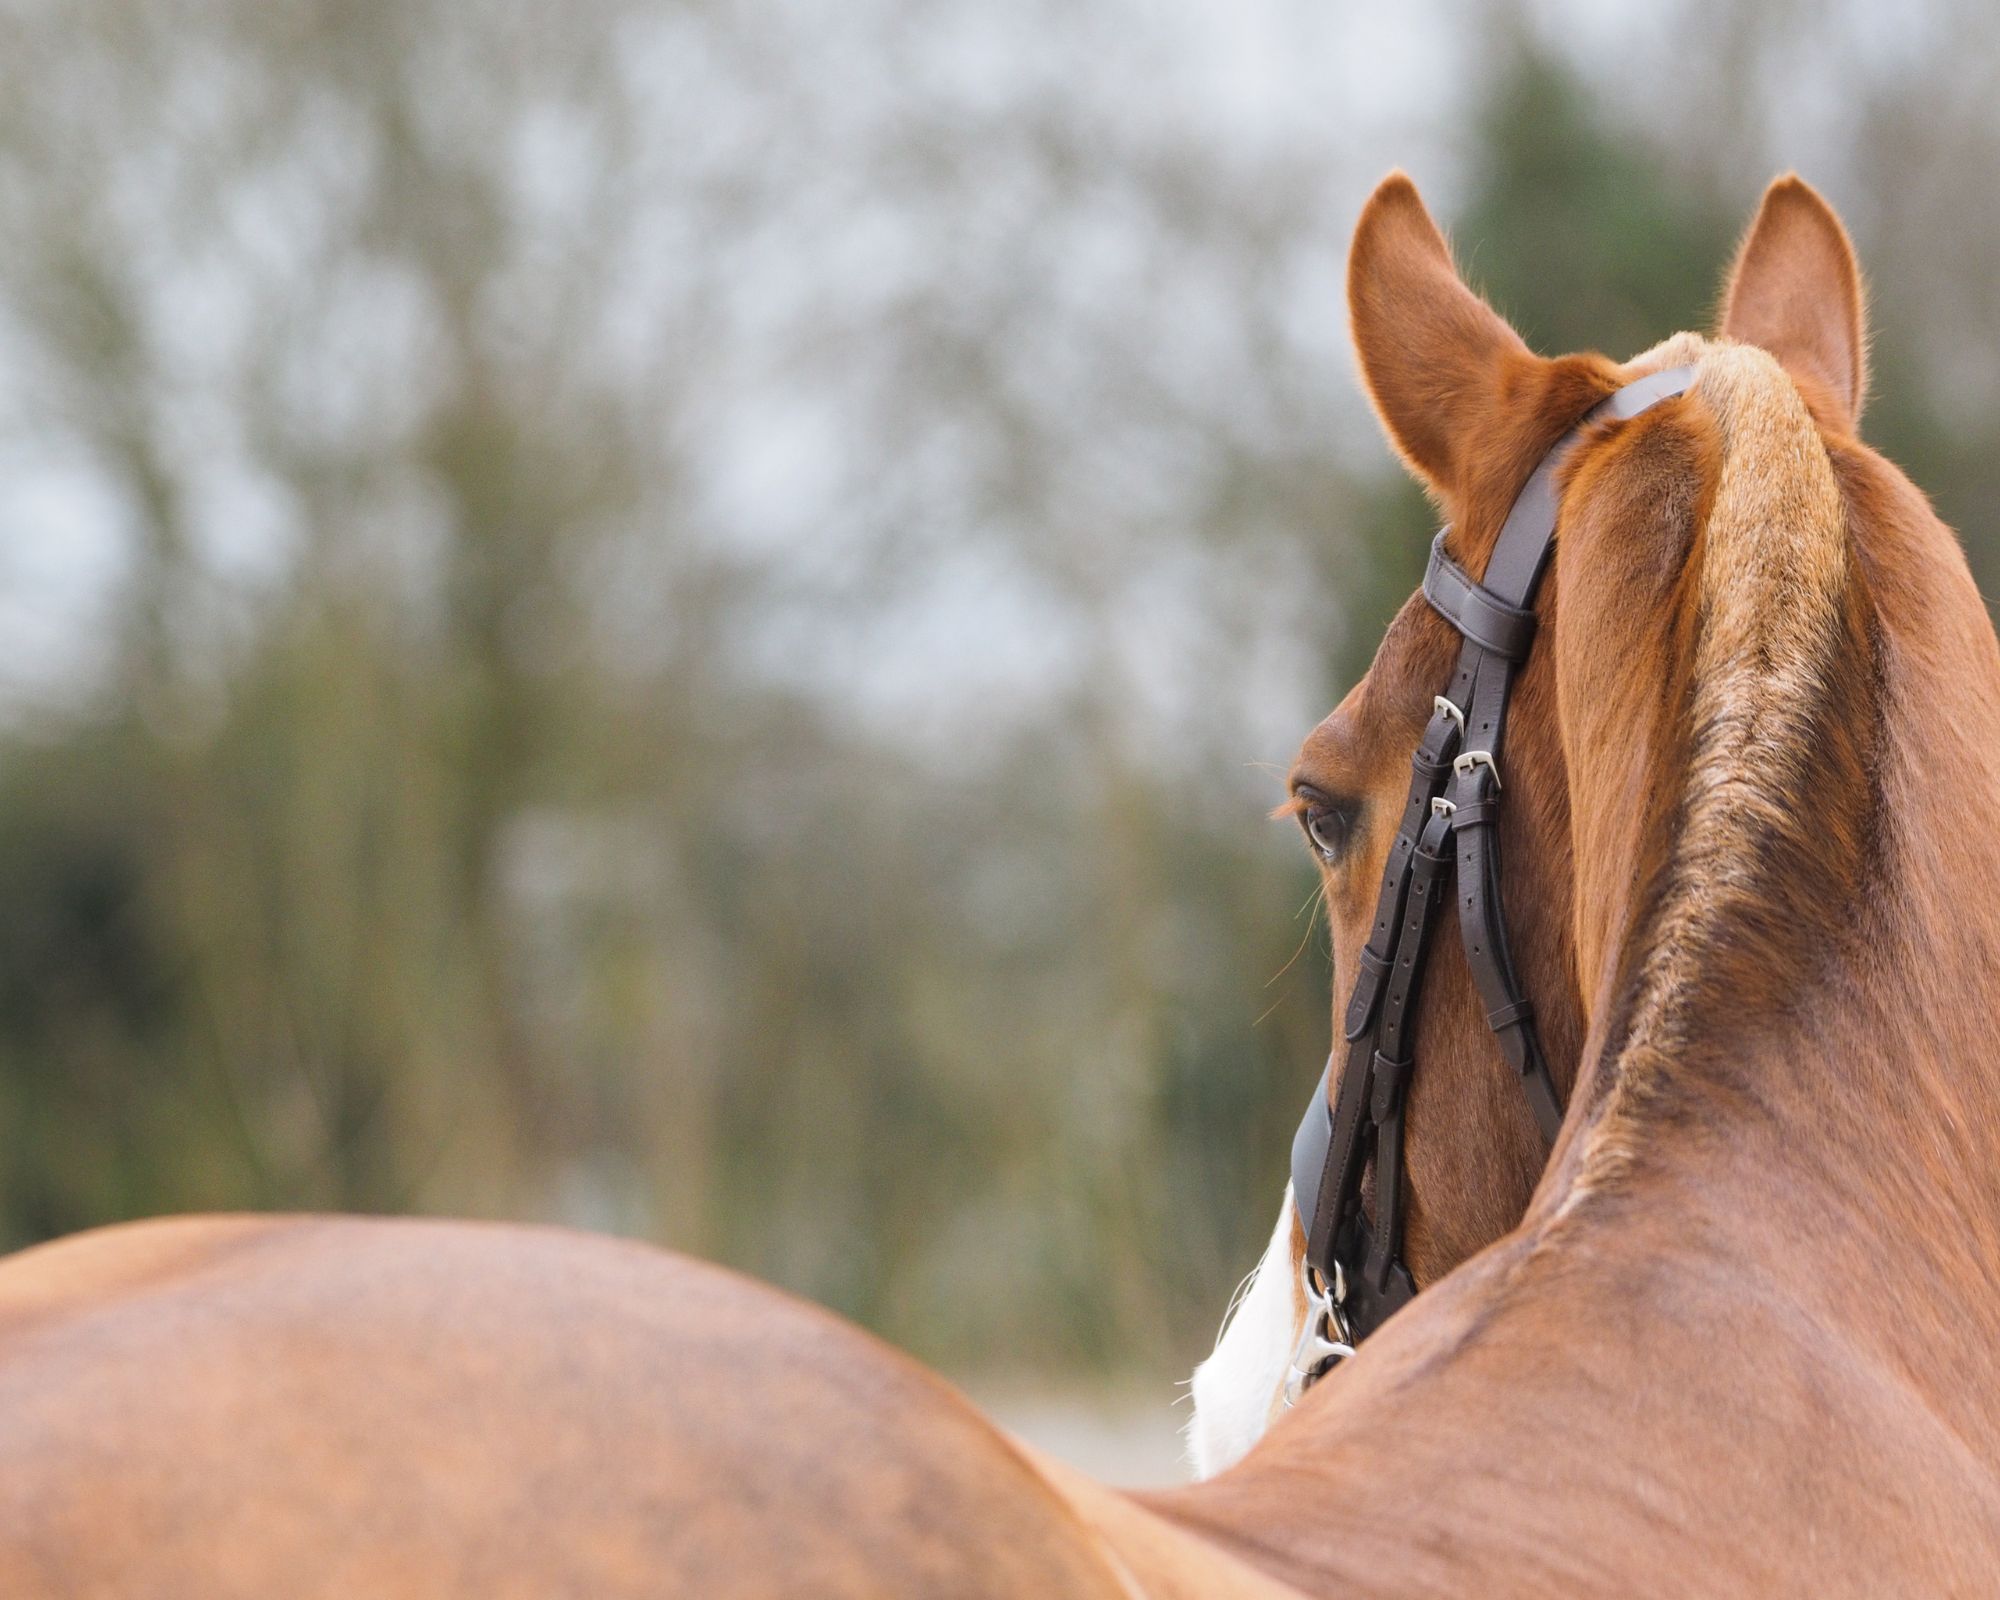
It is essential for your horse to be standing perfectly square front and back as seen below,
when taking ALL these photos.
Image 3
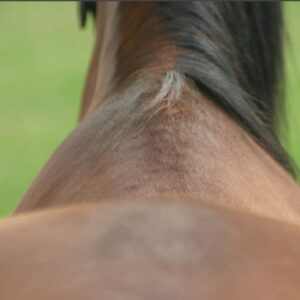
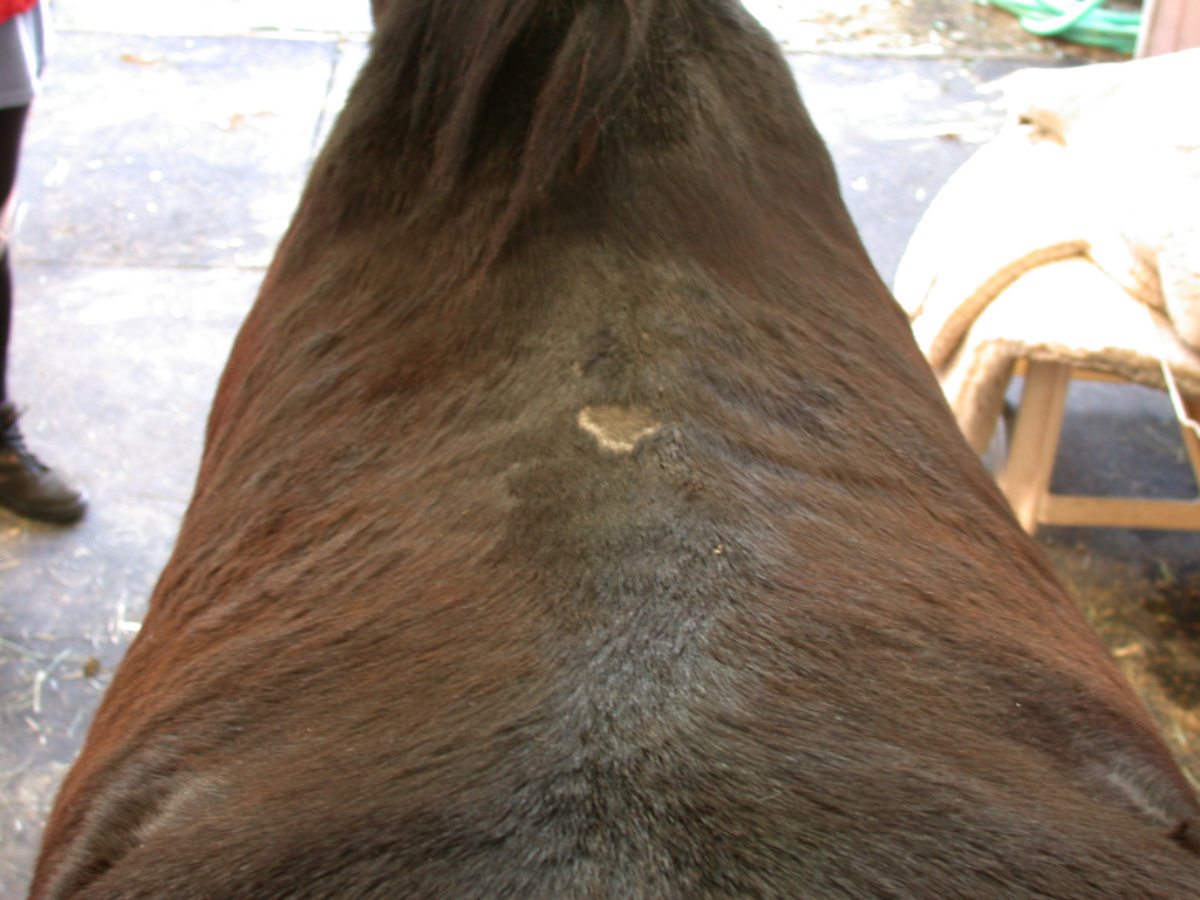
Once you are sure you are standing perfectly square and straight, we require Image 3. It was taken from behind the horse, focused on the shoulders and including some of the pelvis. The head should be straight at all times (you may need to stand on something).
Image 4
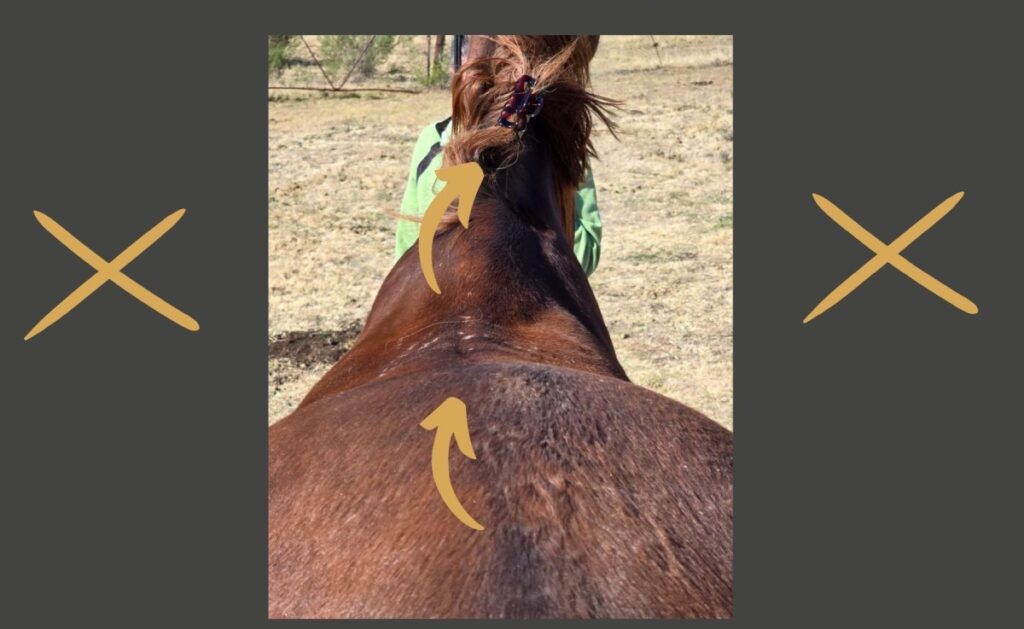
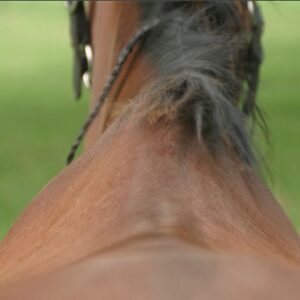
Taken over the horse’s pelvis with a view of the upper part of the shoulders and pelvis.
Image 5
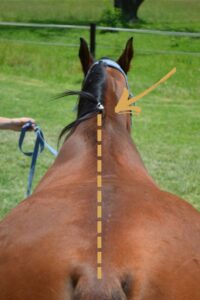
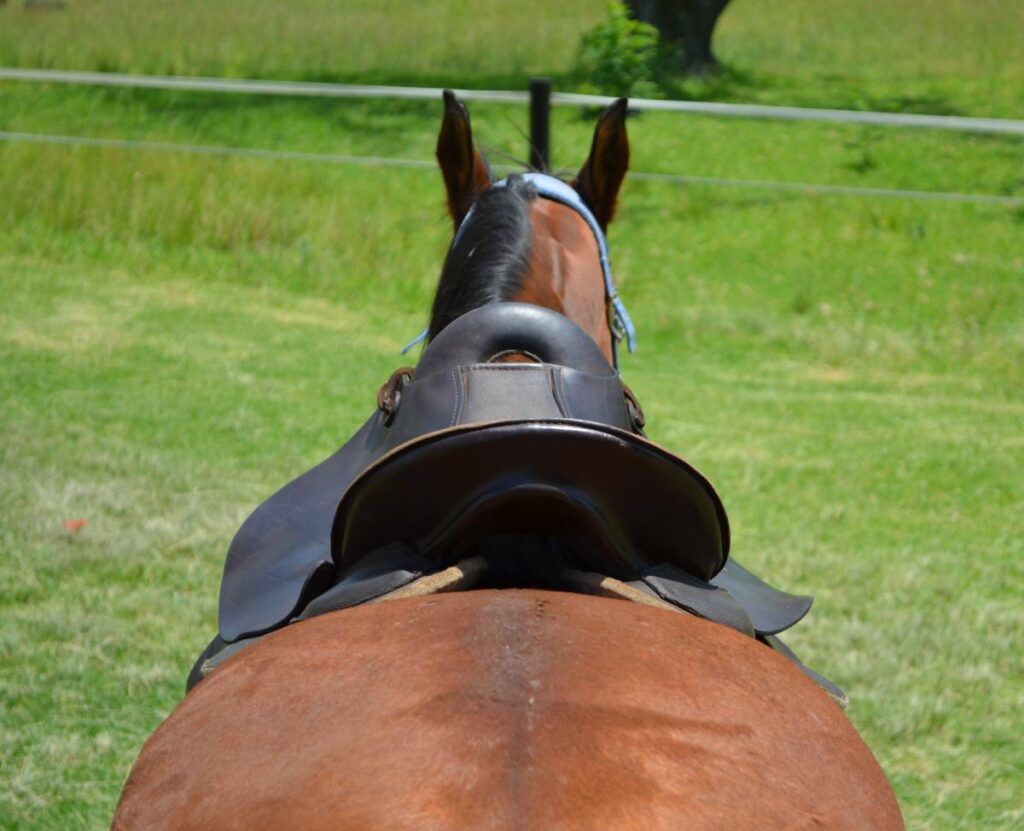
Taken from the back of the horse, showing the pelvis and spinal alignment.
NOTE – It helps to tie up the mane for a better view.
Image 6
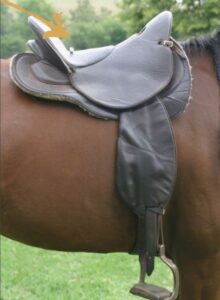
Next, we need a side view with the saddle on.
Place a roll of lip ice on the saddle and then take the photo as I need to see where the balance lies.
NB This applies to all saddle types.
Image 7
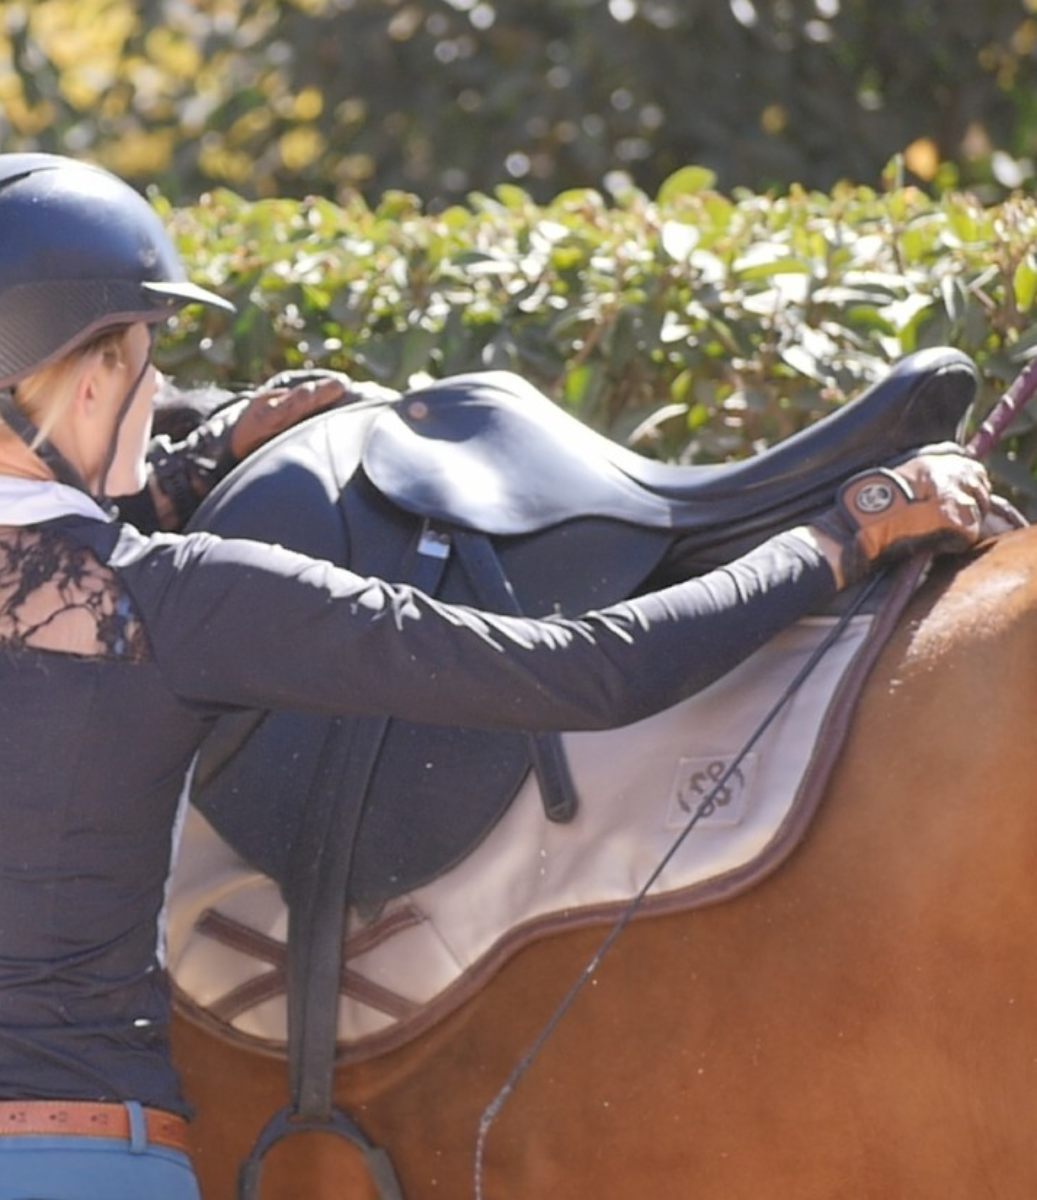
Now we repeat Image 1 but this time with the saddle on. Make sure you wiggle the saddle into the position it feels comfortable to lie in.
PAUSE POINT
Here you give us a few minutes to review the information and advise a build for your customfit saddle pad. If you want to do this over 2 days, this is where we would pause.
Image 8
Same as the above, but now you place the numnahs as customed by your fitter on your horse’s back and give us a last photo.
Image 9
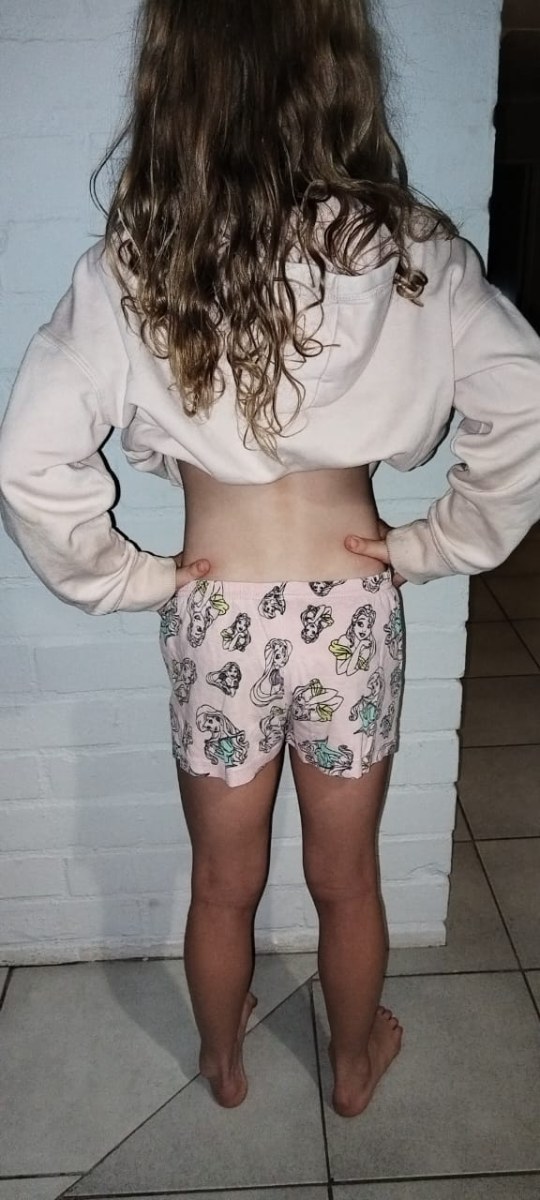
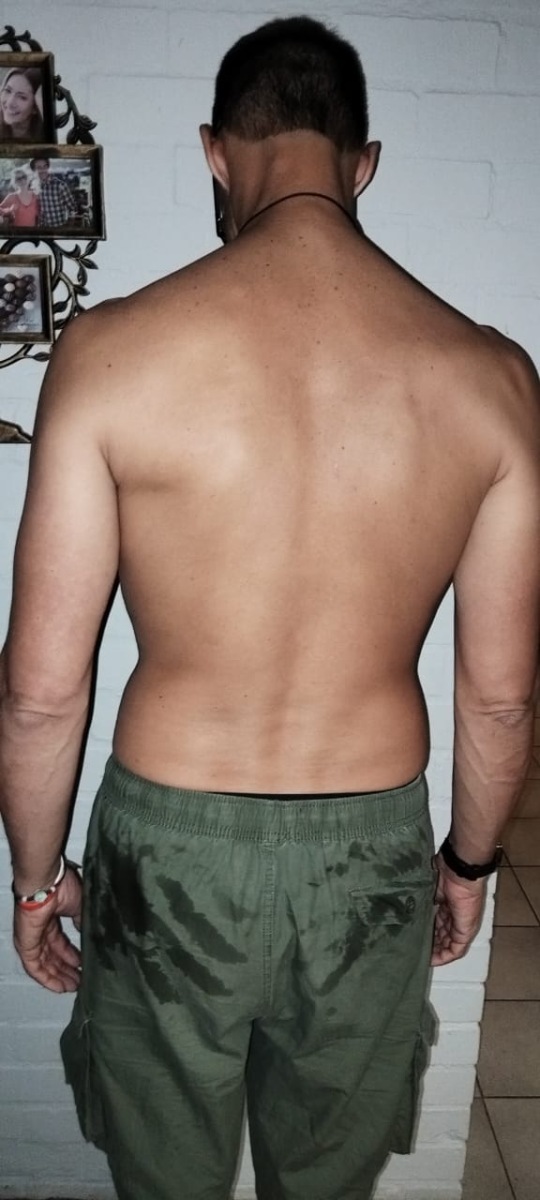
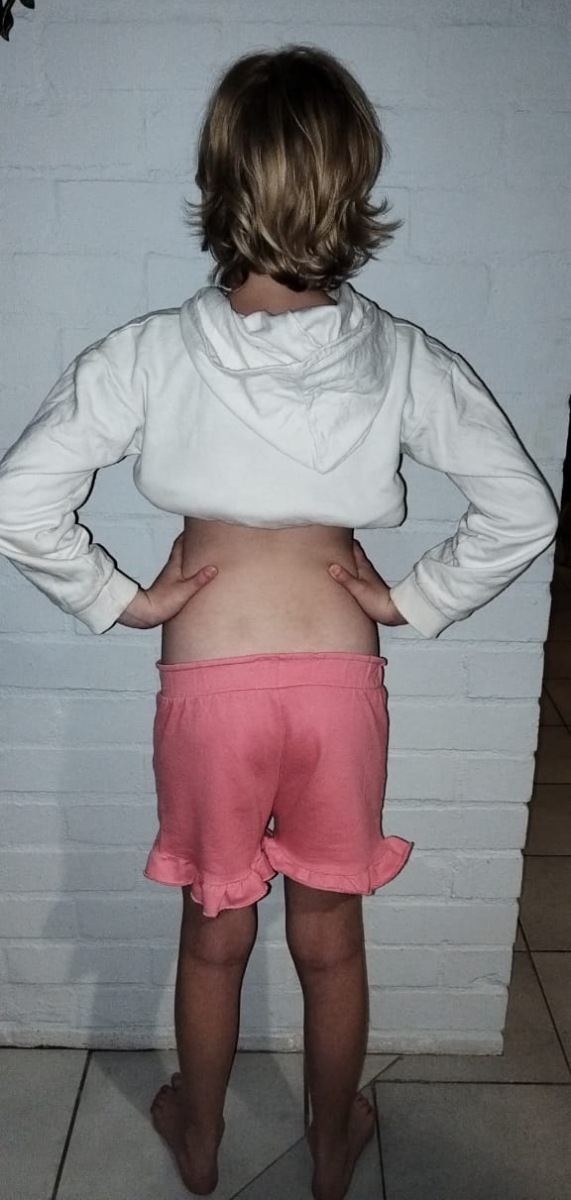
This is where we consider our rider’s alignment to perfect our build.
We require two photo’s as below and then we are done with photos.
One with the hands on the hips and one with the hands hanging by your sides.
Look straight forward and do not turn your body.
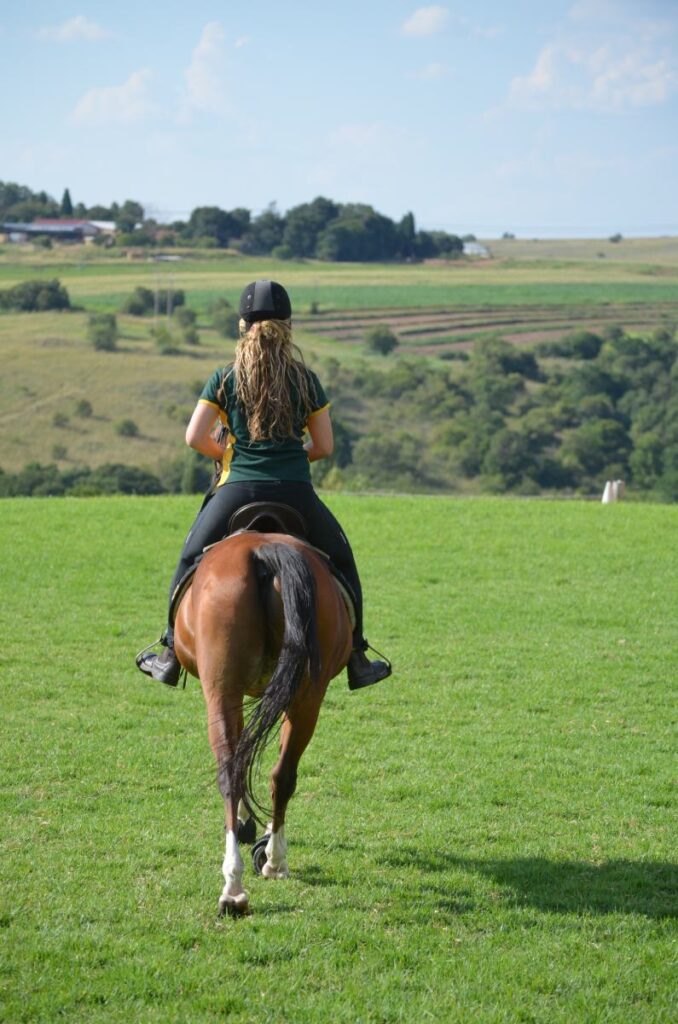
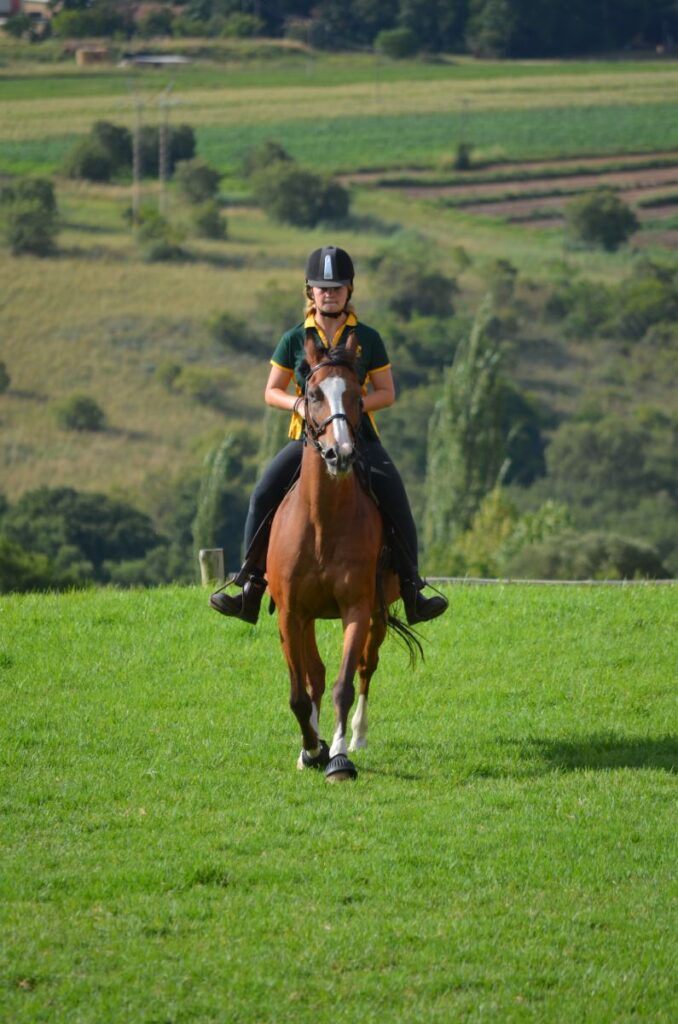
Video 2
Now that we have guided you through fitting your numnah, you are one step closer.
Mount your horse and have a video taken as you trot in a straight line away from and towards the camera.
Zoom the camera as the horse and rider moves further away and closer.
If any adjustments to the build after our trot out, they will be made here.
And you will be prompted to redo Video 2.
Now we require some feedback from you.
Take a quick ride with your horse and note if it changes its lead easily?
Are you hopping?
Or sitting “in” the saddle?
Is your horse feeling happy?
Do you feel secure?